
A buyer decides whether to tap your listing in about a second, and the photo is the whole pitch. For a reseller that photo has a second job most product guides skip: it sets the expectation the item has to live up to when it arrives. Get the color and condition right and the piece sells and stays sold. Get them wrong and you lose the click or win a return, which on a one-of-one used item is the same as losing the sale twice.
That is the difference between reseller photography and the studio advice written for new-stock brands. You are not shooting a catalog of identical shirts under perfect lights. You are shooting one secondhand piece, fast, with a phone, and the goal is an honest, flattering frame a buyer trusts. This guide walks the phone setup that gets you there: light, background, staging, flaws, and true color.
Why reseller photos are a different job
Brand photography sells a style. Reseller photography sells a specific used item to a buyer who cannot touch it, so your photos carry all the trust. Two things follow.
First, accuracy beats polish. A plain photo that shows the real color and condition out-sells a moody, filtered one that hides a stain, because the filtered shot comes back as a return. Bad lighting hurts twice: it loses the buyer who scrolls past a dark thumbnail, and it makes the careful buyer wonder what the shadows are hiding.
Second, the first photo does almost all the work. On Poshmark, Depop, Mercari, and eBay the cover shot is what a buyer sees in the feed, and it decides the tap. The cover earns the click; the rest of the set closes the sale by answering fit, condition, and detail questions before they are asked.
The phone setup that works
You do not need a camera, a studio, or lights. You need a window, a clean surface, and a few minutes of prep. Here is the setup, in the order you would actually do it.
Prep the garment first
This is the step most resellers rush, and it shows. Steam or iron the piece, lint-roll it, and clip stray threads. Wrinkles read as "old and unloved" in a thumbnail even when the item is great. Five minutes with a handheld steamer does more for a listing than any editing app.
Use one big, soft light source
Daylight from a window is the best light you have, and it is free. Shoot a few feet back from a large window, with the light coming from the side rather than behind you, so the fabric texture shows. Avoid direct sun on the garment: it blows out highlights, crushes detail into shadow, and shifts the color. An overcast day through a window is close to ideal soft light.
If you list at night or in a dark space, one inexpensive softbox or a large ring light gives the same even, shadow-free result. Avoid your ceiling bulb, which casts a yellow tint and a harsh shadow under every fold.
Keep the background clean and consistent
A plain wall, a white foam board, or a neutral sheet is all the backdrop you need. The point is to remove anything that competes with the garment. A consistent background across listings also makes your closet look organized, which reads as a seller who takes care.
Steady the phone and tap to focus
Most blurry listing photos come from a moving hand in low light. Brace your elbows, prop the phone on something, or use a cheap tripod. Tap the garment on screen to lock focus before you shoot, and use the square format the resale apps crop to, so nothing important gets cut off.
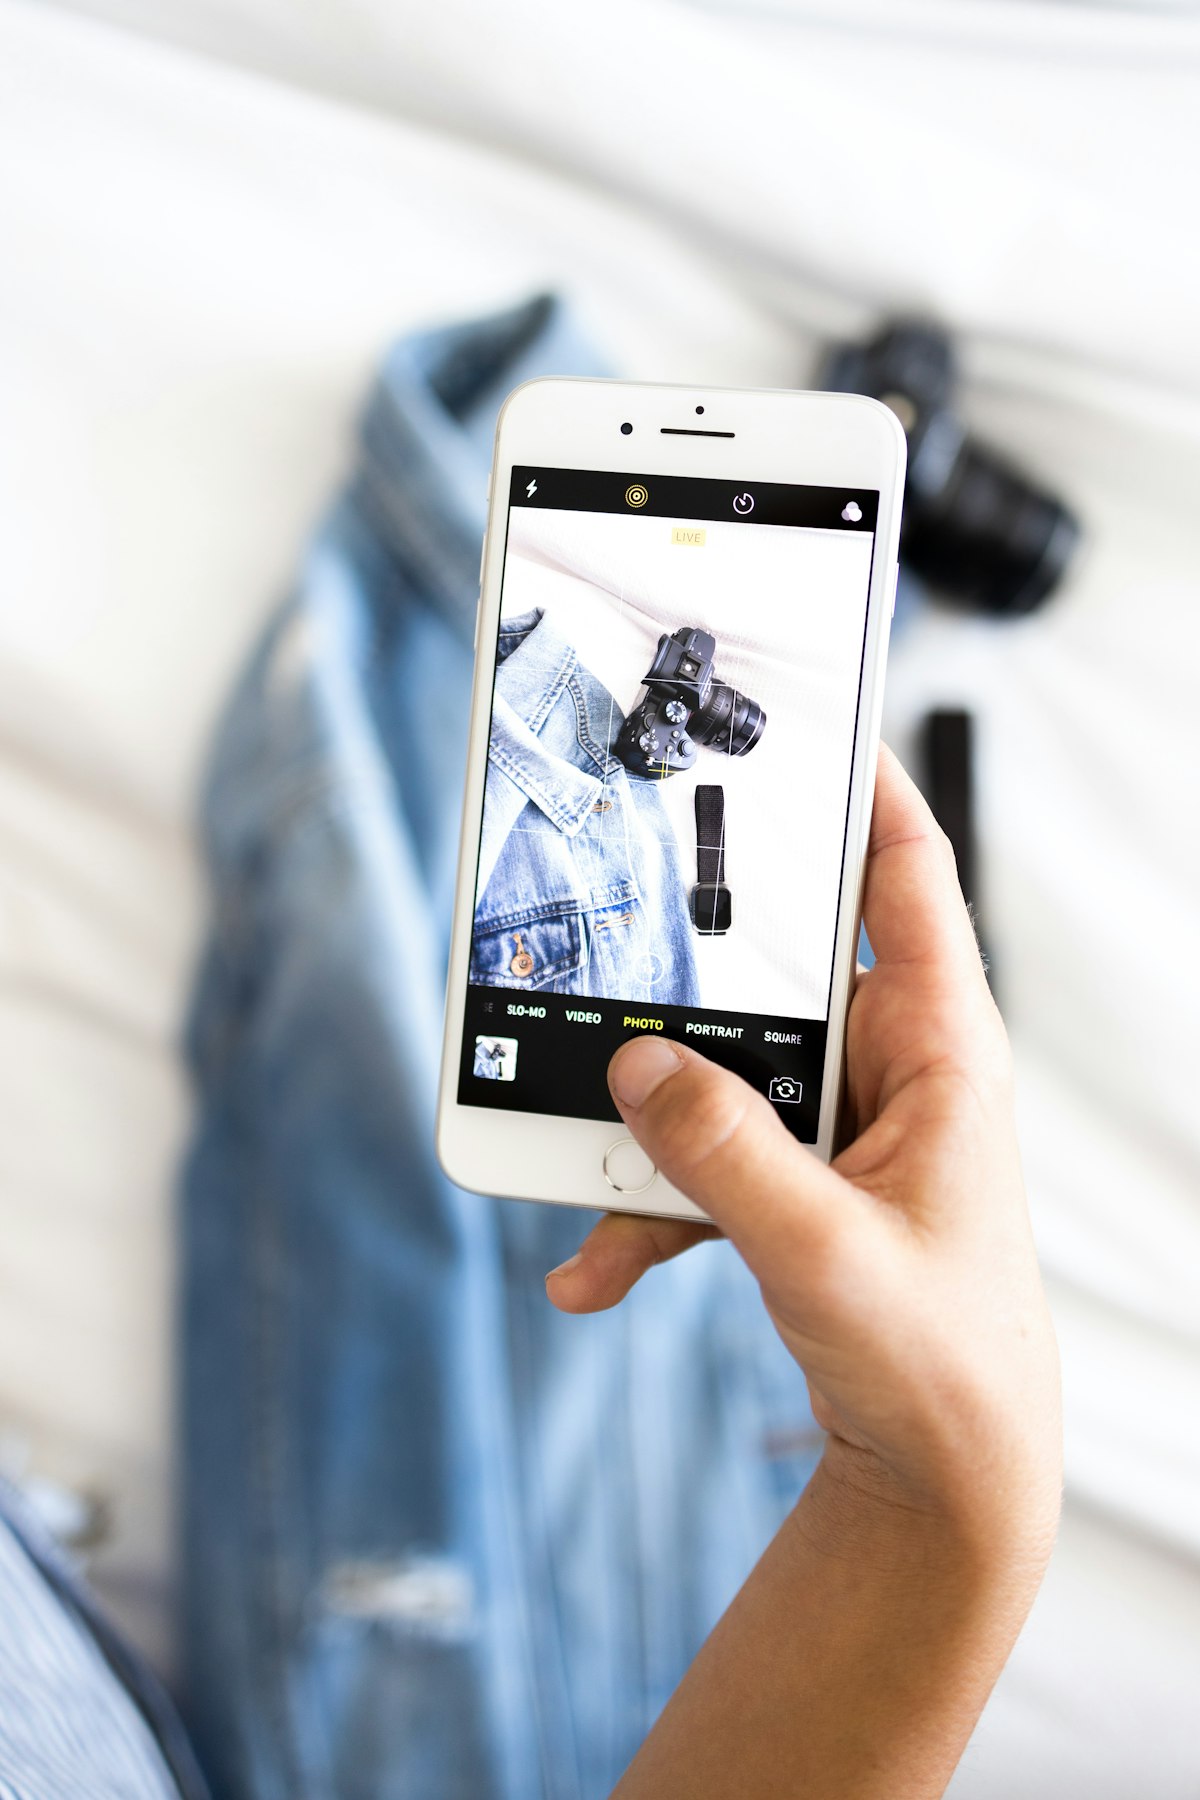
Flat lay, hanger, or model: pick by the garment
There is no single best method. Each suits a different piece, and the right call is whichever shows the item most honestly.
Flat lay works for folded and structured items: tees, knits, jeans, sweaters. Lay the piece on your clean surface, smooth it flat, square the camera directly above it, and shoot straight down. Fast, repeatable, and a clear full view of the garment.
Hanger suits items that need to show drape: dresses, coats, blouses, anything tailored. Hang it on a plain wall so the shape falls naturally. Quick, and it keeps your backgrounds consistent across a closet.
On a model or mannequin helps most when fit is the selling point, because buyers want to picture how a piece sits, and a worn shot answers fit questions a flat lay cannot. If you cannot model every item, reserve it for the pieces where drape and fit drive the sale.
A practical compromise: lead with a clean flat lay or hanger cover shot, then add one on-body photo for the items where fit sells. You do not need to shoot every garment three ways.
The photos every listing needs
Whatever the method, a complete set answers the questions a buyer would otherwise message about, or return the item over:
- The cover shot: the full front, clean and bright, framed to win the tap.
- The back, and any side that differs.
- A close-up of the fabric so the texture and weave read clearly.
- The brand tag and the care or size label.
- Any flaw, shot close and in focus.
- A measurements photo, with a tape across the chest, waist, or length. This preempts the fit questions that stall a sale.
Show flaws honestly, and keep color true
These two habits protect you from returns more than anything else, and they are where rushed reseller photos slip.
On flaws, photograph them, do not hide them. A pull, a small stain, a worn hem, a missing button: get a clear, close, well-lit shot of each. Spotlighting a defect feels counterintuitive, but a buyer who sees it up front and buys anyway keeps the item. A buyer surprised by it on arrival opens a case. Showing wear at the usual stress points, like underarms and cuffs, also proves the rest of the piece is in the condition you claim.
On color, the rule is no filters. A filter that looks great on your screen is the fastest route to a "not as described" return. Set white balance to match your light, or use the daylight preset, so whites look white instead of yellow or blue. If a color reads slightly off, light editing to pull it back toward true is fine; pushing it prettier than reality is not. Color accuracy is tied directly to your return rate: the moment an item looks different in the box than on the screen, trust is gone.
Edit with a light hand. Straighten, crop to square, and nudge brightness so the photo matches what your eye saw in the room. That is the whole job. Anything heavier is decorating, and decorating is what comes back.
Nail the photos, let AI handle the words
Photos are the half of a listing only you can shoot. The other half is the writing: a brand-led title, a description with size, condition, and measurements, and the keywords a buyer would actually search. That part is repetitive, and it is where the pile tends to stall once the photos are done.
That is the job QuickListAI does. It is a Chrome extension that writes the title and description for your item and auto-fills them into the listing form on the marketplace, so you are not retyping the same fields. To be clear about what it is not: it is not a crosslister, it does not sync inventory or auto-delist sold items, and it is not a sharing or bump bot. It writes and fills the listing; you shoot the photos and post. Our Poshmark AI listing generator page shows how that title and description come together.
When your photos are ready and the writing is what slows you down, install QuickListAI free on the Chrome Web Store. Your first two listings are free, so you can see the words it writes for your own items first.
Try the Poshmark AI Listing Generator
Generate Poshmark titles, descriptions, and style tags in seconds, then auto-fill them on the listing form. 2 free listings, no credit card required.
Add to Chrome, FreeFrequently asked questions
Yes, and most successful resellers do. A modern phone camera is more than enough for resale listings. The quality comes from the light and the prep, not the device: shoot near a window in soft daylight, steam the garment first, use a clean background, and tap to focus before the shot. A phone on a small tripod by a window beats an expensive camera used badly in a dark room.
Large, soft, and even. Daylight from a window is the best free option, with the garment lit from the side so texture shows. Avoid direct sun, which blows out detail, and your overhead bulb, which adds a yellow cast and hard shadows. If you list at night, one softbox or a wide ring light gives the same shadow-free result.
Match the method to the piece. Flat lay suits folded, structured items like tees, knits, and jeans. A hanger suits anything that needs to show drape, like dresses and coats. A model or mannequin helps when fit is the selling point. A good default is a clean flat lay or hanger cover shot, plus one on-body photo where fit drives the sale.
Show them clearly and let the price reflect them. A buyer who sees a small stain or a pulled thread up front and still buys keeps the item; hiding a flaw only moves the problem to a return and a damaged review. Shoot each flaw close and in focus, and photograph wear points like underarms and cuffs to prove the rest of the piece is in the condition you describe.
Light it with soft daylight, set white balance to match your light or use the daylight preset, and do not apply filters. If a color reads slightly off, light editing back toward reality is fine, but never push it more flattering than the actual item. Color accuracy directly affects your return rate, since an item that looks different on arrival reads as not as described.
Enough to answer every question a buyer would otherwise ask: a bright cover shot, the back, a fabric close-up, the brand and size tags, any flaw, and a measurements photo. That set covers fit, condition, and detail before a buyer has to message you, which both speeds the sale and cuts returns. Coverage matters more than a specific number.